Outdoor Dining Space on a Budget | One Room Challenge
- Laura
- May 11, 2019
- 3 min read

Here is a video version of this post, if you prefer!
Our patio had been neglected for almost seven years. I could count on one hand the number of times we've eaten out here in the last two years, so it was time to reclaim this area as a useful space. I like to try and keep my monthly projects as close to $100 as possible, so this was a fun challenge to try and complete an entire dining space, not just a table, on that small budget. I really do believe that you can make great strides in your home on just a $100 a month project budget.
I managed to do this refresh for just under $120.
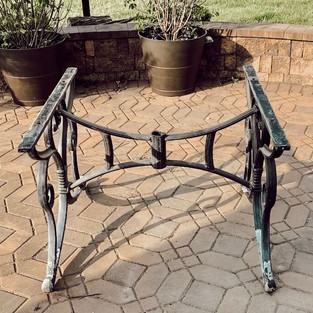
Here's the BEFORE:

The goal was to have a dining area that we wanted to spend hours in, chatting and being together in the evenings. Our current table was fifteen years old and the stone top had never been properly cared for. It's hard to tell in pictures but it really needed a good refinishing in order to be a place we actually wanted to sit and eat. But because the square shape also made it hard to add extra seating for guests, I opted to remove the top altogether and build a rectangular, wood, farmhouse style one instead.
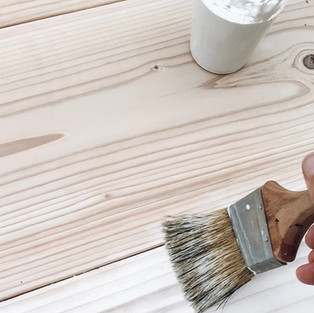
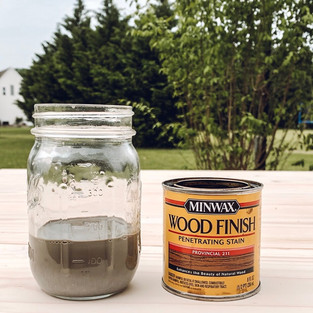
For $40 in boards this was a relatively easy fix. I did a coat of white wash to blur the fresh cut wood grain and stained with a 3-1 mix of Minwax Weathered Oak and Provincial. Then the old metal base just needed a scrubbing and a fresh coat of paint. And voila! A new table!


Now for some chairs! I knew that I could pull our metal homeschool chairs outside whenever necessary - that room is right off of the patio and I wouldn't store metal chairs outside anyway. So I just needed a few more seats to fill it in. Enter Facebook Marketplace! I found these Pier One, black, woven arm chairs (image above) for $20 each - which compared to the original $100+ price tag and the like-new factor was a great deal.
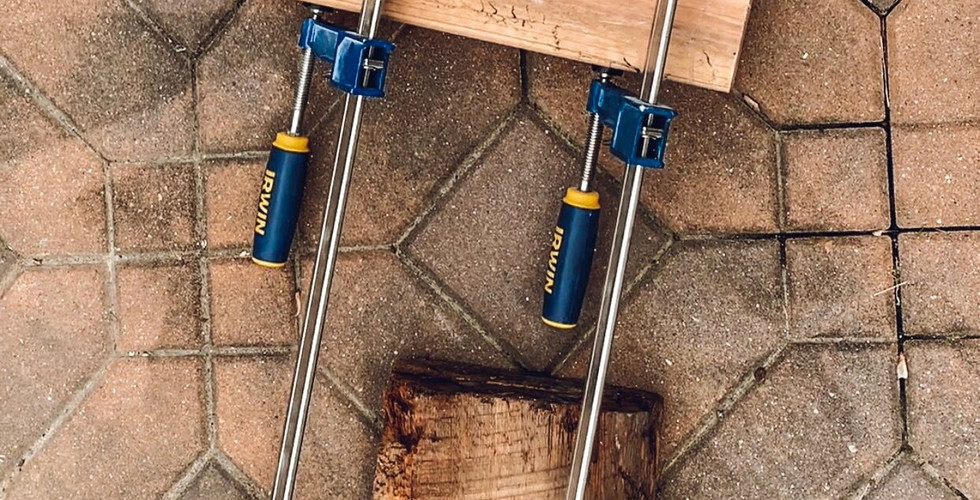
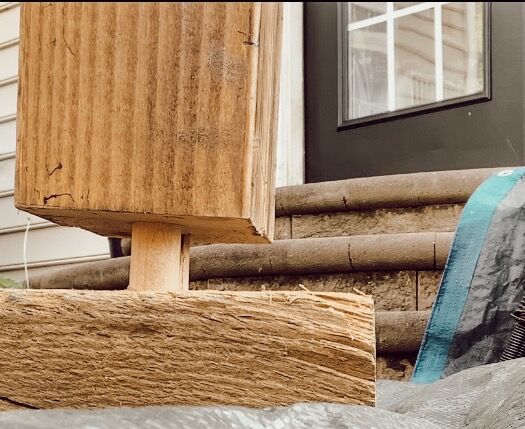
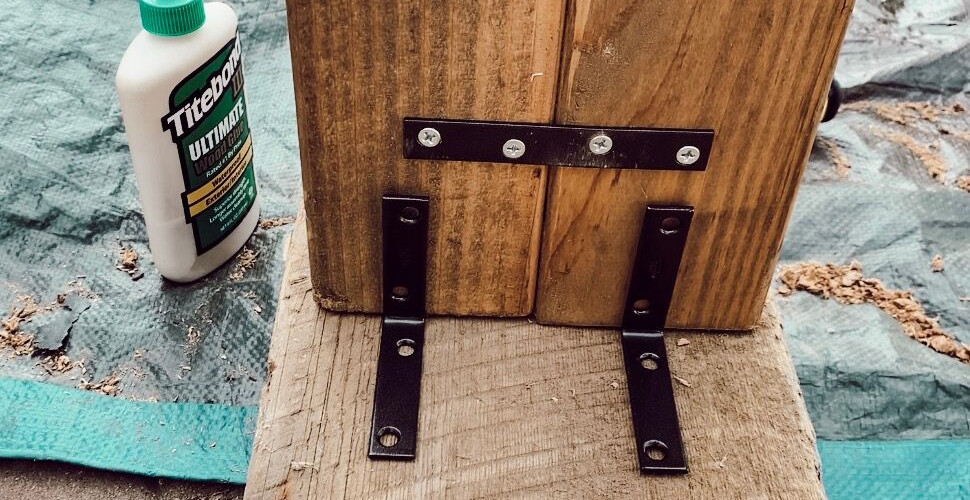
I also envisioned a skinny boho style bench that could squeeze in extra little ones when we have guests. I had an old reclaimed piece of wood that was perfect for the top, and a leftover piece of 4x4 from a previous build to use for the legs. This is the reason that I love holding onto scraps from projects. I can almost always come up with a way to get an extra project out of it down the road.

Here's a slider of some of those steps. I can elaborate in another post if you are interested in more details.
Now we needed some ambiance! Our cafe lights had actually been purchased a couple of years ago and I'd just never figured out how to hang them. If this had been a part of the current budget and not something I'd already had on hand, the cost of this makeover would have been $155.
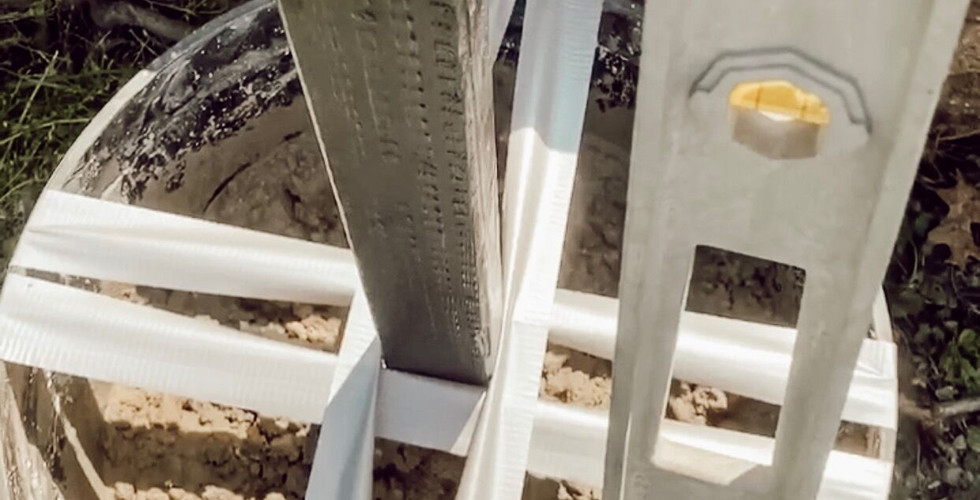
I chose heavy, commercial style lights that would hold up to the outdoors. And to hang them, I just cemented a pole in a planter. Here's a little slider of some of the steps, or you can watch the video linked in the second image from the top.
A little bonus to amp up the drama and add even more ambiance was a centerpiece we made out of a reclaimed barnwood beam and some candles for $6.

Any piece of reclaimed wood or even a store bought piece, distressed and stained, could work for this idea. You can find the tutorial here if you are interested:
And last, but not least, I shopped the house for fabric remnants to use as napkins, a cozy throw for the chilly spring evenings, a few pillows and our dishes.
Here is the AFTER:

We can't wait to spend out summer evening out here together! I hope this encourages you to think outside of the box, make what you can with what you have, and just maybe, start a little garage collection of potential reclaimed gems for yourself. (I'm not saying that my husband has been super happy about it. But it does serve it's purpose.) Don't underestimate Facebook Marketplace, eBay or Craigslist. And see past what's on the outside. If something has good bones and can be fixed up or repurposed, it's a budget friendly and beautiful way to live.


Until next time, friends...
.png)










Creating an outdoor dining space on a budget is doable with a bit of creativity! Repurposing old furniture, adding DIY string lights, and using affordable outdoor rugs can elevate the vibe without breaking the bank. One fun idea I’ve seen is adding personalized touches like custom cushions or even weatherproof décor featuring designs from a unique PVC patch creator—it’s an unexpected but super cool way to add personality to the space. Think logos, nature-themed art, or family emblems—small details like these can make your setup feel thoughtful and one-of-a-kind.
What a fantastic transformation! Your creative approach to designing an outdoor dining space on a budget is truly inspiring. The blend of rustic charm and modern functionality makes it a perfect spot for family gatherings. Anyone considering a Patio Renovation in Delray Beach could learn a lot from your thoughtful design tips. Great work and thanks for sharing your journey!